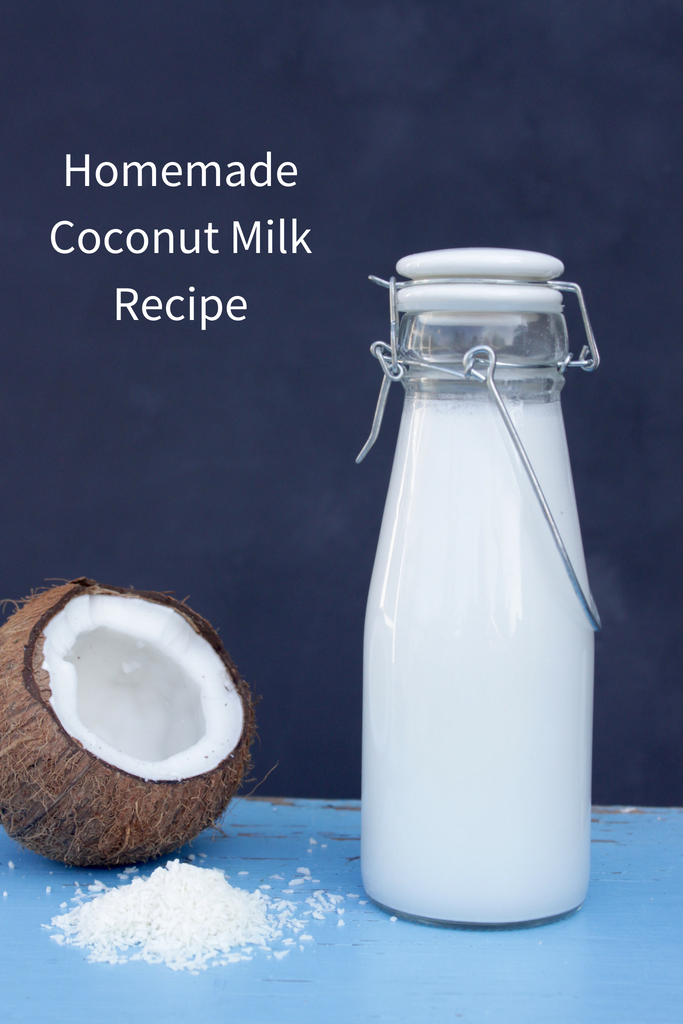
 Make your own coconut milk once, and I bet it will be hard for you to go back to the store bought version. Homemade coconut milk taste SO much better – and as a bonus, it’s free from the long list of additives you find in many coconut milks on the store shelves.
I normally use this coconut milk as a non-dairy milk and I absolutely love it. It makes a great matcha latte, or vegan hot chocolate. You can also use it in food, as a replacement for canned coconut milk, though this milk is a lot thinner in consistency. The taste however is great in hot dishes, especially in indian recipes. To compensate for the thinner consitency, you can add some thickener when you cook your dish.
Healthwise, coconut milk is naturally sugarfree, which is one of the reasons (beside the great taste), that I like to use is for my hot lattes. In comparison, rice milk has 14 g. of sugar pr. cup, and oat milk and cow milk 9 g. pr cup.
Besides that coconut contains a unique kind of fatty acid (medium-chain triglycerides) which has shown to help speed up weight loss (1) and decrease high LDL-cholesterol (2). It’s also high in lauric acids which is known to be antiviral and antibacterial. If you want more info, Dr. Axe has written a great article on the health benefits of coconutmilk.
Use it as you would use any other plant-based milk; solo, in smoothies, lattes, bakings, on your cereal etc.
Ways of making coconut milk.
While there are several ways to make coconut milk, I like to use raw coconut flakes, or when I have a little more time, the meat from a brown coconut. Other ways include using coconut manna, or the thick coconut milk from a can. The latter I do not recommend because of the BPA found in most cans which is linked to several health problems (3).
Opening a brown coconut can be a little work, but when you get the technique right, it is easy to do. If you have not opened a brown coconut before, check out this tutorial on how to open a brown coconut.
- Coconut meat from ½ brown coconut OR 50 g of shredded coconut (equals 1,5dl. or ¾ a cup).
- 500 ml warm water (not boiling - handwarm)*
- Warm up the water until hand-warm (not boiling) and add it, and the coconut meat or flakes, to a blender.
- Blend for about 30-45sec. Let the blender rest for 10 seconds and repeat 2 times.
- Place the nutmilk bag or sieve in a bowl, and pour the milk through to seperate the coconut pulp from the milk. A nutmilk bag gives the best results as this removes all the pulp, but if you do not have one, a fine sieve will remove most of the pulp as well**.
- Store your fresh made coconut milk in a glas jar in the fridge. The milk will last several days in the fridge***.
** Instead of throwing out the coconut pulp, you can dry it in the oven at 200C for around 30-45 minutes until it's dry and voilá, you have your own high-fiber shredded coconut that you can use in breads, cakes, smoothies, on top of your cereal, or in vegan steaks.
*** When the milk gets cold, the fat will seperate from the water and join together in the top of the container. This is normal and means the milk just needs a good shake. If shaking does not help, you can take the milk out of the fridge before you drink it and let it rest for a little until the solid part mealts. When you heat up the coconut milk the solid part quickly melts away.
If you like this recipe, and want to see more, then please hit your favorite button bellow, and share it with other like-minded. If you have any questions, or feedback, I’d love to hear from you in the comment section. Thanks!
Leave a Reply